Soft slab construction with a folded base

Roll out clay to about 3mm thickness 
Cut out a rectangular strip – ensure you have enough height to include the tripod base 
Run your finger along the top edge to refine the rim 
score the two shortest sides of the strip 
Use a large cardboard tube to wrap the clay around or (as here) a strip of corrugated cardboard to support the clay as you form it into a tube shape 
Use water or slip to join the two scored sides of the tube 
Smooth the join using a rubber kidney or old store card. 
Here I have a small rolling pin inside the pot to press against to help seal the join without making it 
Smooth the inside join 
Turn the pot over onto its rim and score the base 
Use your hands to gently form just the base part of the pot into a triangle shape 
Sharpen the corners of the triangle with your fingers 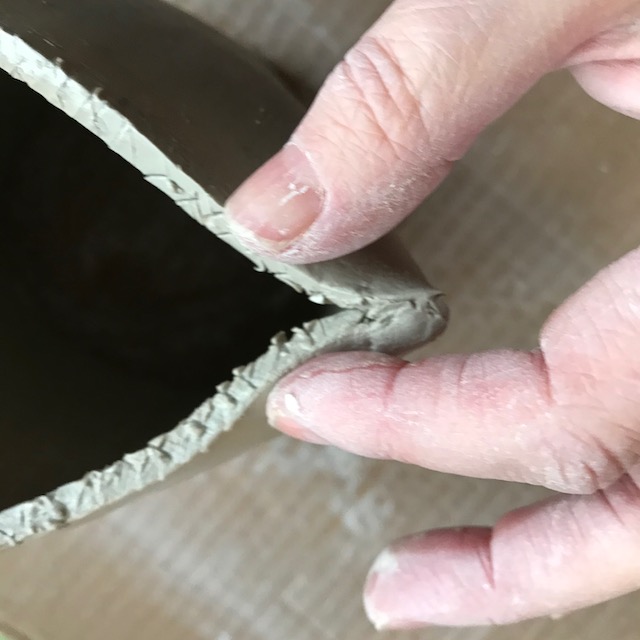
Start to gently press the scored edges together 
The tripod base begins to form as you firm the scored edges 
Close the gap at the base as much as you can. There may be a small hole which you can fill if desired. 
You can cut a small triangle of clay to smooth into the hole, or experiment with different additions to finish the base – you could add a seal with your stamp here perhaps 
Smooth over the joins with your fingers 
Turn the pot over but hold it in your hands – avoid putting the pot down on its base as this will squash the tripod points 
Smooth the joins inside. If this is to be used a cup then the indents will need to be filled which can be a fiddly job. Or just leave the indents and use as a planter or decorative vessel. 
Leave the pot to dry resting on its rim and fettle or smooth further when cheese hard

You must be logged in to post a comment.